There are few things more important to your family’s well-being than vehicle safety. That’s because driving is naturally dangerous, we just forget because we do it every day! However, motor vehicle death is one of the most common forms of accidental death among adults and children. This is why prioritizing car seat and seat belt safety is our passion and should be important to you too!
What is a LATCH?
Cars nowadays come with so much advanced safety technology, and one of those safety systems that’s standard in vehicles is the LATCH system. LATCH stands for “Lower Anchors and Tethers for Children” but you may also see it called UAS (for Universal Anchorage System, commonly used in Canada) or ISOFIX.
The LATCH system was designed to make car seat installation easier for parents, and in many cases it does! But there’s a lot of confusion about LATCH. For example, is LATCH or seatbelt safer when installing car seats? Well, the quick answer here is that they’re equally safe when used correctly. But what about using LATCH and seatbelt together? Wouldn’t that make your kiddo extra safe? We’re using this post to answer this frequently asked question! Here are some car seat safety details:
Can You Use LATCH And Seat Belt Together?
No, you cannot use the LATCH and seat belt together in most situations.
It does not make your child safer! Using both could compromise the safety of your car seat. This is because the two installation methods could put too much stress on the wrong part of the seat and cause breakage or incorrectly distributed crash force. Both methods could even give you the feel of a correctly installed seat when neither system is properly tightened. This, of course, isn’t safe.
Why Can’t You Use Latch And Seat Belt Together?
The simplest answer is that most car seat manufacturers say not to. We know, we know… you want to know why! It comes down to crash testing; for the most part, car seats are not crash-tested with LATCH and seatbelt installation together. So, at best it’s ineffective and at worst your little one is potentially becoming a crash test dummy for a dangerous setup. Because of this, do not use the LATCH and seat belt together UNLESS you have one of the few car seats that specify if you can get a safe installation with both methods.
These seats include:
- Nuna Pipa (all models)
- Clek Foonf (forward-facing only)
- Babyark Classic and Smart
Nuna Pipa RX review: read here YouTube Videos here.
Clek Foonf Review: read here
How to install Clek Foonf forward-facing: YouTube Video
Knowing how to choose the best car seat can be difficult sometimes. That’s why I created our Car Seat Finder Tool. But just remember, properly installing and using any car seat is the key to keeping your child SAFE!
How To Use The Latch System For Car Seats
1. Consult your manuals.
Start by reading both the car seat manual and the vehicle owner’s manual. The vehicle manual informs you which seats are equipped with lower anchors or top tether anchors — the two components of the LATCH system. Modern vehicles are required to have at least two sets of lower anchors and at least three top tether anchor locations, meaning many vehicles don’t have these features in all backseat locations! Additionally, the car seat manufacturer will tell you in the manual about specific requirements for using the LATCH on that car seat model. For example, most car seats only allow LATCH installation in designated LATCH locations in the vehicle, while a few car seats allow “borrowing” lower anchors to install in vehicle seats that don’t have their own standard-spaced set.
Once you know where you can install a car seat with LATCH, choose which seat you’ll put your car seat in. Keep these manuals handy, because you’ll need them for more of the steps to follow!
2. Ensure your child is the right weight.
Many parents don’t realize that the LATCH system has a weight limit. It’s a common car seat misconception! Though you can use LATCH in front-facing and rear-facing modes, lower anchors have a standardized weight limit due to the amount of force they can withstand during a crash.
Fortunately, car seat manufacturers take this standardized total weight limit into account. And they know how much their car seats weigh — so they do the math for you! All harnessed car seat manuals will list the child’s weight where parents must switch from lower anchor install to seatbelt install (except for infant seats, which don’t have a LATCH weight limit because the seat itself will be outgrown before it comes into play!).
Pro tip:
- Find your car seat’s lower anchor weight limit.
- Look for wording similar to “Do not use this installation method for children weighing more than XY pounds.” You’ll find it in the LATCH install section!
- Then, write down these limits on your Safety Stickers and attach them to your car seat.
As long as your child’s weight is less than the maximum listed in the manual, you can move forward and install with LATCH!
3. How to find lower anchors in your car.
Now, it’s time to install it! Locate the connectors on the car seat and the anchors on the vehicle seat. The anchors are often indicated with buttons or tags with an icon of a child in a car seat on it. However, you may have to consult the vehicle owner’s manual and find them. They may be in the “seat bight” — the crack between the backrest and the bottom part of the vehicle seat — or hidden behind plastic covers or upholstery flaps at the bottom of the vehicle seat’s backrest.
Read our expert guide here: Infant Car Seats With Rigid Lower Anchors: Are They Safer?
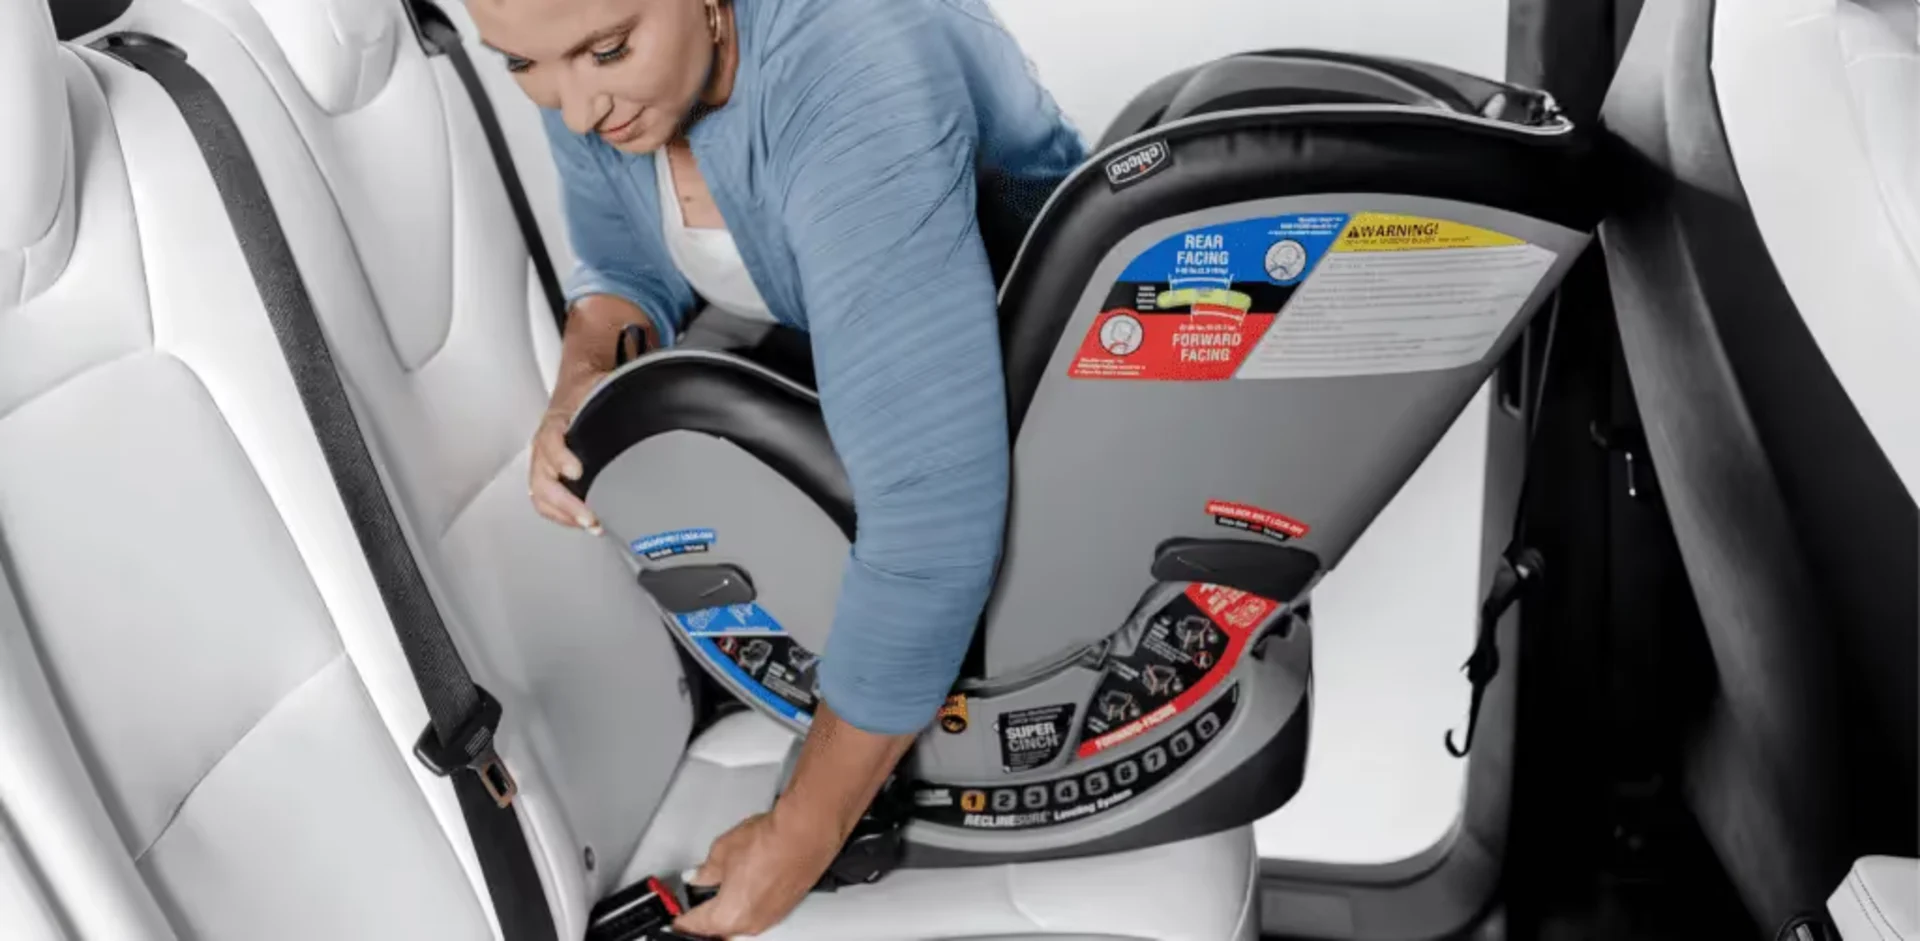
4. Connect and tighten the straps.
Once you know where the anchors are, attach the connectors. Ensure that the connectors are flat (horizontal) and there are no twists in the straps. Once you’ve connected and positioned everything, tighten the straps up as much as you can. To tighten, use this handy technique!
5. Secure your top tether.
If you’re installing your child in the front-facing seating position, reread that car seat manual to ensure you’re taking the right steps. Mainly, make certain you attach that top tether as well! It’s the long strap behind the car seat that will go over the seat and connect to that all-important top tether anchor. (Again, consult the vehicle owner’s manual to locate the top tether anchor.)
A select few convertible car seats also allow (or require) the use of the top tether in rear-facing mode. If you have certain swivel car seats or a car seat that allows an Australian-style rear-facing tether (such as the Uppababy Knox or the Clek Foonf and Fllo when you add Clek’s optional Q-tether accessory) make sure you’re all tethered up even when rear-facing!
Read our full review of the Foonf here.
6. Ensure you can’t move the car seat more than 1 inch in any direction.
Remember to test the movement right at the seat’s belt path once you’ve installed it. If the car seat can’t move more than 1 inch in any direction when you test it with your non-dominant hand, it’s installed properly. If it can move more than that, go back and tighten again.
7. Only attach one seat per anchor set.
If you have multiple car seats to install, remember that you can only have one connector attached to each lower anchor point. So, if your vehicle only has two sets of LATCH anchors, you can only install two car seats with the LATCH install method. The same goes for top tether locations: one top tether is allowed per anchor point, meaning you might need to be strategic about car seat configuration if you have forward-facing riders.
8. Plan for the switch to seat belt installation.
Remember, the LATCH system has a weight limit. So moving to a vehicle seat belt installation is inevitable at some point. Plan for it! Use my safety stickers to write down the important weight limit information and recheck your safe install each time you go to the pediatrician. This is a great tip because you’ll have your child’s height and weight in hand! There’s no better time to confirm that your car seat is still safely installed.
It is unsafe and ineffective to install a car seat with the LATCH system and a seat belt.
There’s no reason to install your car seat using both the LATCH system and the vehicle seat belt if the manual says not to. We do, however, love your attention to detail and drive to keep your child as safe as possible. You can get key safety information on the Safe in the Seat blog, or you can consider hiring a child passenger safety technician who can join you for a personalized safety consultation. The point is that we’re here to help and give you all the trusted information to keep everyone safe in their seats!
Affiliate links are included above. Safe in the Seat earns a small commission when you purchase through these links with no cost to you. We so appreciate your support.


