If you’ve been following us for a while, you may have realized there’s a lot you didn’t know about your car seat. It’s not just about buying a nice seat for your child. It’s about making sure it’s the right fit, it’s buckled correctly, and, of course, it’s installed properly. The first step to true car seat safety comes with proper installation. This step can be frustrating since installation can also be the most difficult part of the process.
If you truly want your child to be safe in the seat, you must confirm you installed your car seat correctly. Because installing the seat properly is vital for your peace of mind and your child’s safety, we’ve dedicated a whole post to this topic!
If you are in the Infant Stage, watch this video to learn the different types of installation methods for your infant car seat. Whether you are starting your journey on Team Base or Team No-base, in this lesson you’ll learn about all the possible infant car seat installation methods and how to connect your car seat to a vehicle.
Where Should Car Seats Be Placed For Infants?
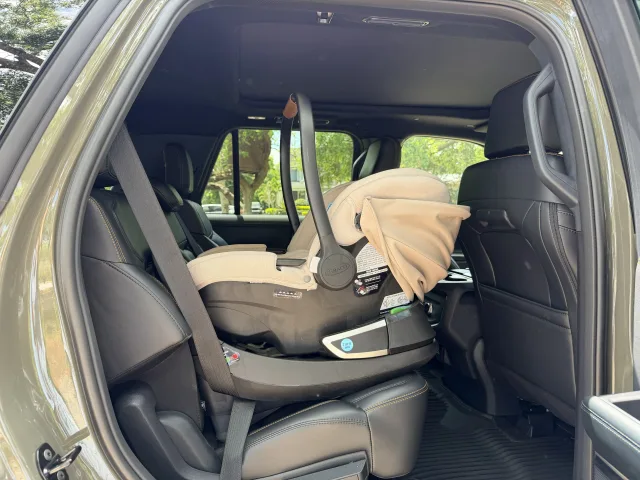
You may have heard that you should always install the car seat in the middle seat because it is the safest. If you can get a correct installation in the center seat, go ahead! Make sure to use the seat belt for installation, check the recline, and check to make sure the car seat is not hanging off of the vehicle seat more than allowed.
Not all middle seats are good for car seats. If you cannot install the car seat correctly in the middle seat, then it cannot possibly be the safest place to install it! You can install it in the 2nd or 3rd row seats. The best place is where it can be installed correctly and works best for you!
When Should You Install Your Car Seat?
This is one of the most common car seat questions we get from expecting caregivers. The best time to install your infant car seat is in your final trimester—better yet, wait for the final few weeks. We don’t recommend putting it in too early simply because if you get in an accident, that car seat would need to be replaced. You probably don’t want to replace a car seat you’ve never used. So, by reducing the amount of time that the car seat sits in the vehicle, you lower the risk of it getting damaged.
How to Know Your Car Seat is Installed Properly
Step 1: Read the manual.
First up, read the owner’s manual. Yep! This is not like the instruction manual that came with your blender—this is critical information you need to keep your child safe. No matter how many car seats you’ve used in the past or what type of car seat you’ve purchased, reading the manual is the only way to know how to safely use your specific seat. (Read your vehicle manual too!)
Every car seat is a little different. Read the manual cover to cover and keep it close by as you install and adjust. Then store it in the car seat’s designated manual storage location. All car seats have a manual storage location, and you’ll need that manual again! Your fast-growing child will soon be ready for the next car seat stage. When that time comes, you’ll need to grab that booklet again and read through the required changes for the next safe stage, whether that’s a convertible seat, a backless booster seat, or anything in between!
Check out this video for the top ten things to keep your baby safe in and out of the seat. From what your baby wears, to stroller safety to how to put your baby in a shopping cart I’ll walk you through what you need to know for your baby and car seat safety.
Step 2: Double-check height and weight.
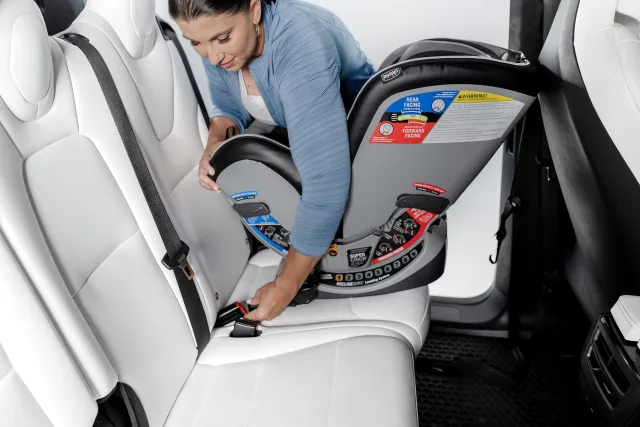
While you’re reading that car seat manual, take note of the height and weight limits for every mode of your car seat. Make sure to follow those closely. Don’t move your child before they’re ready and never keep your child in a mode they’ve outgrown. Both can hinder safety in a crash!
One of the biggest transitions you’ll make in your car seat journey is the switch from rear-facing car seats to forward-facing car seats. You’ll notice with rear-facing seats, your child has a weight and height minimum and maximum. Make sure you hit that maximum before you switch to front-facing! Also, pay special attention to any fit-based requirements for your car seat. For example, most rear-facing seats require your child to have at least one inch of clearance above their head. This helps make sure their head stays contained and doesn’t strike anything if a crash happens; it’s important! But many parents miss this detail and use an outgrown seat without even realizing it.
The National Highway Traffic Safety Administration, the American Academy of Pediatrics, Safe in the Seat, and most other vehicle or child safety organizations recommend rear-facing as long as possible. It provides the best protection from injury and death for young passengers.
So, to confirm your seat is installed correctly, make sure you know what mode to use! If you moved to front-facing too early, don’t worry. It’s not too late to switch back. And if your child has already hit the maximum, move up immediately. Car seat position is one of the most important parts of proper car seat installation!
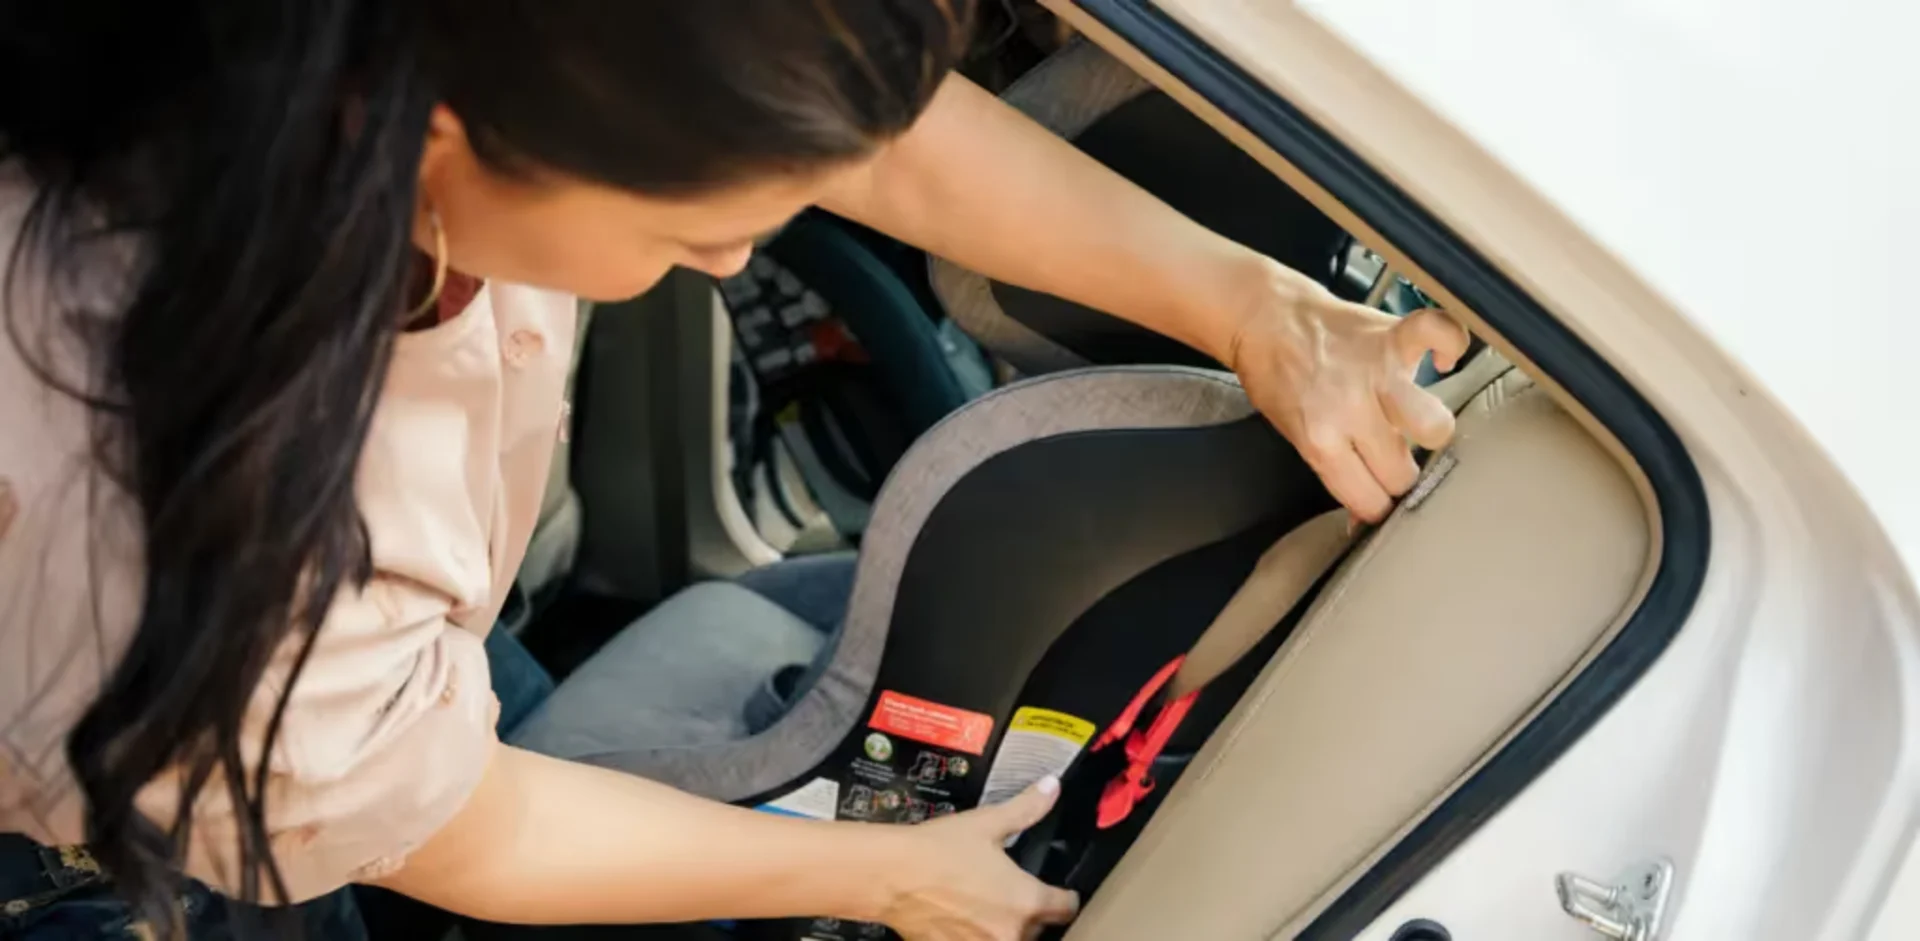
Step 3: Install on level ground.
When you do your car seat installation, make sure you’re on level ground. Most rear-facing car seats and some forward-facing car seats come with a recline indicator, but most recline indicators depend on gravity! To confirm you have the correct orientation and recline of your seat, check it on level ground. Pro tip: gas stations are always level, so you can double-check that recline setting the next time you fill up your tank!
Step 4: Decide if you’re using LATCH or belt.
There are two ways to install every car seat. You can use the vehicle’s LATCH system or seat belts. The LATCH systems are innovative anchors installed directly into your vehicle seat. These are standard in all vehicles made after 2003. Harnessed car seats offer both options for installation, but most don’t allow both at the same time. The exceptions to that rule would be Nuna Pipa infant seats, Clek Foonf forward-facing, Babyark convertible car seats, and Axkid One. Think about it like contacts and glasses. While there are a few people who use both, for most of us, our vision would get worse if we wore our glasses and contacts at the same time! Latch OR belt. Not both.
Clek Foonf review: read here.
How to install Clek Foonf rear-facing: YouTube Video
How to install Clek Foonf forward-facing: YouTube Video
Nuna Pipa RX review: read here. Nuna Pipa RX YouTube Videos click here.
So, confirm your seat is installed with one or the other. If you’re using LATCH, also check that vehicle manual to make sure you’re using an approved seating location — many vehicles don’t have, or allow, LATCH installed in the center seat!
If you are currently using the LATCH system, though, check the maximum weight. Your vehicle’s latch anchors DO have a weight limit. To find out the child’s maximum weight for latch use, head to your car seat manual! The latch weight limit is car seat-specific, so the manufacturer will give you that number. Once your child reaches that weight limit, you must change to seat belt installation. When you have it installed with the seat belt, ensure you lock the seat belt for a solid fit.
Did you know your car seat’s lower anchor connectors (LATCH) have a weight limit?! Once your child hits the weight specified by your car seat manufacturer, you must use the vehicle seat belt to install it!
Read our expert guide here: Infant Car Seats With Rigid Lower Anchors: Are They Safer?
Step 5: Utilize the top tether.
The top tether is one of the most neglected parts of the forward-facing car seat installation process. This is because when you’re rear-facing, you don’t use the top tether. So, if you’re not reviewing your manual frequently, you may miss this important addition when you turn your kiddo forward-facing.
First, locate your vehicle’s top tether anchors. In sedans, they’re found on the rear dash behind the headrests. In SUVs and minivans, they’re usually on the back of the vehicle seat, but they may also be in other places, like the ceiling. Luckily they’ll be labeled, and the vehicle manual can help you locate them too! If you’re installing in a pickup truck, check that vehicle manual right away, because the top tether situation can be a bit more complicated. But that’s not a reason to skip this important safety step!
In some vehicles, there won’t be a top tether anchor in all backseat locations. But this isn’t an excuse either! The top tether is so important for forward-facing harnessed seats that we would never recommend going without it. You may need to rearrange your backseat. Rear-facing seats and belt-positioning boosters don’t need top tethers, so you can position those riders in locations that lack tether anchors, and save anchor locations for forward-facing harnessed seats. Keep everyone riding safely!
If your child is in a forward-facing car seat with a harness, it has a top tether anchor. USE IT!
When a car seat is tightly installed, and the top tether anchor is in proper use, it limits a forward-facing car seat from tipping forward by 4-6+ inches. By limiting that movement, you are protecting your child’s head from hitting the vehicle seat in front of it, the door or console, or a fellow passenger in a car crash. A correct and tight installation plus a top tether truly is a life-saving combination!
Step 6: Check for twisted straps.
Twisted straps anywhere are no good. No good at all. Whether it’s the seat belt you’re using to install, the harness straps, or the top tether, a twisted strap reduces the integrity of the belt. This means it won’t perform like it should in a crash.
So, ensure none of your straps are twisted and adjust if they are.
Step 7: Make sure the seat doesn’t move.
If your car seat is installed correctly, it should not move more than an inch in any direction. You’ll check this by firmly grabbing that car seat right at the belt path, which is where the seatbelt or latch strap comes out of the car seat to attach to the car, and giving the seat a firm handshake. If it moves too much at the belt path, you’ve got to tighten it up, but movement elsewhere on the car seat, such as near your child’s head, is normal and expected. Only check at the belt path!
If you’re having trouble, check out this hack to get a super tight fit really easily!
Step 8: Remove aftermarket add-ons.
Do you have any aftermarket add-ons in your car seats? This is anything that DID NOT come in the car seat box or from the car seat’s manufacturer. This could be a head strap, added insert, potty-training liner, or harness pads. None of these items are safe! If they’re in your car seat, get rid of them. Vehicle seat protectors may or may not be allowed, so check your car seat manual for input on those. Trust us, the cute or seemingly convenient add-ons aren’t worth the risk.
Step 9: Book a car seat consultation.
Still have questions? A lot of people do! Ensuring you installed the seat correctly is very important. So, to help educate and affirm you, we offer car seat consults. As certified child passenger safety technicians, we’re specially trained to help parents like you learn about their seat, how to use it, and, of course, how to install it! We’ll answer any questions you have and get you the perfect fit in our essential car seat consults!
Step 10: Put yourself to the test!
Feeling confident? Put yourself to the test! Can you spot the 6 things wrong with the installation and harnessing of this rear-facing car seat? In this video, I’ll show you the most common errors we see and how to fix them to keep your rear-facing rider safe in their seat!
Optional Step: How to Install a Car Seat with a Locking Clip*
* Your car seat may need to be installed with a locking clip for one of three reasons:
- Your vehicle was manufactured before 1996
- You are traveling internationally with your car seat that does not have a built-in lock-off
- Your lightweight car seat is tilting after installation
In this video, learn why you might have to use one and how to install a car seat with a locking clip. Contact the car seat manufacturer for a free locking clip.
Still unsure if your install is perfect?
Even experienced parents can struggle with car seat installation, and a small mistake can make a big difference. With Talk to a Tech, you can get personalized guidance from a certified CPST who can review photos, answer your specific questions, and help you feel confident your child’s seat is installed correctly. To ensure your child is as safe as possible on the road, confirm your car seat is installed properly with this handy guide and a car seat consultation.
Car seats are confusing, but car seats are important. One of the most important parts of your car seat journey is not which one you buy. But, how is it installed? And, how is it buckled daily? Knowing the answers to these two questions is important to keep your child secure in a crash.
So, don’t waste time, reread that car seat manual today, reserve your car seat consult, and follow our blog, Insta, and YouTube for regular car seat wisdom. Also check out our resources, designed to take you from confused to confident!
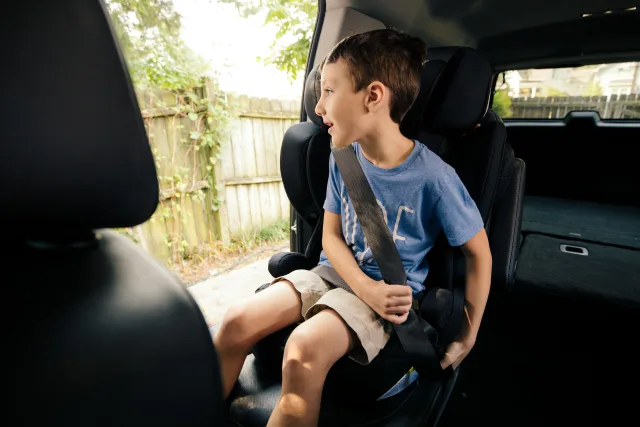
Test your car seat knowledge! Can you spot the 7 things wrong with the installation and harnessing of this forward-facing car seat? In this video, I’ll show you the most common errors we see and how to fix them to keep your forward-facing rider safe in their seat!
How Tight Should Car Seat Straps Be For a Newborn?
Car seat straps should be snug, but not restrictive. To confirm you’ve found the sweet spot, pinch the harness straps at the shoulders to see if there’s any additional slack. If that's good and you’re certain the harness strap height and crotch buckle position are correct, you’re ready to go! This applies to kids of all ages who are riding in a harness, not just newborns!
What’s the driving force behind our mission? Educating caring parents like you on car seat safety to keep kids all over the world safe in the seat.
Affiliate links are included above. Safe in the Seat earns a small commission when you purchase through these links with no cost to you. We so appreciate your support.